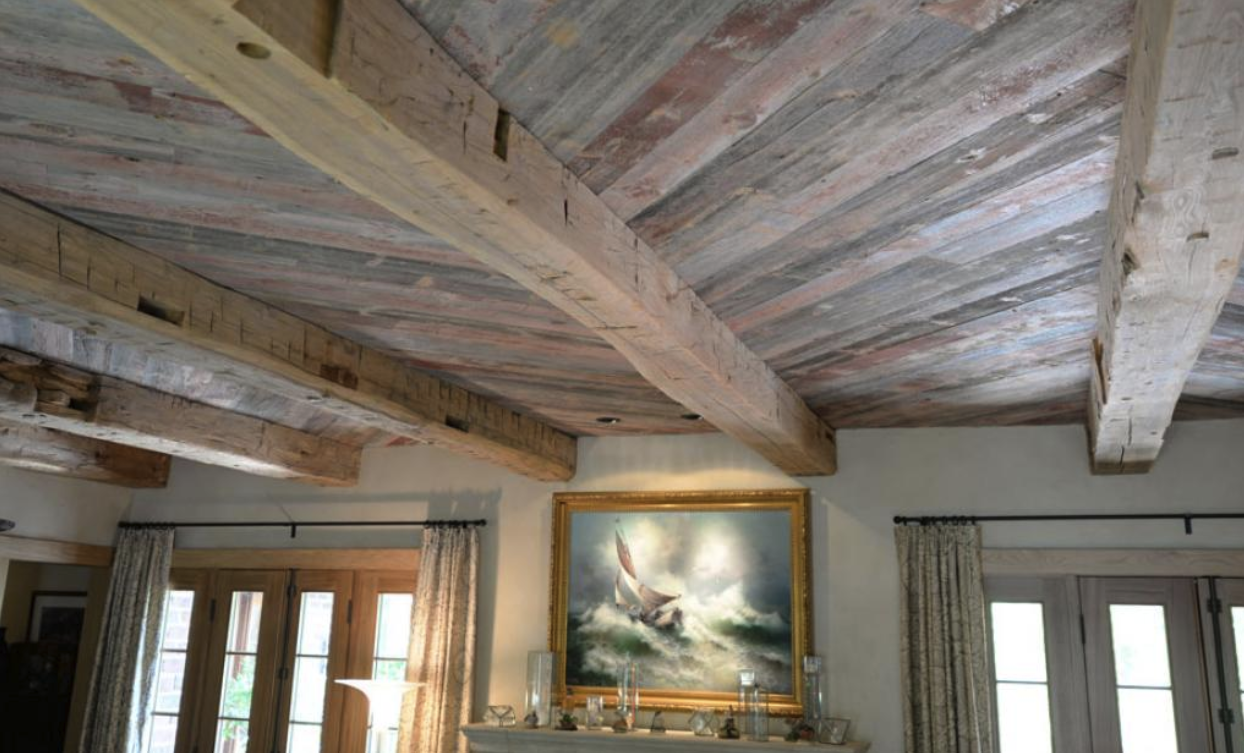
Decorative beams can give a ceiling and a room a significant makeover, adding warmth, character, and ambiance to the home decor. Vaulted ceilings, in particular, look stunning with the addition of wood beams, enhancing the aesthetics of the otherwise large, blank canvas.
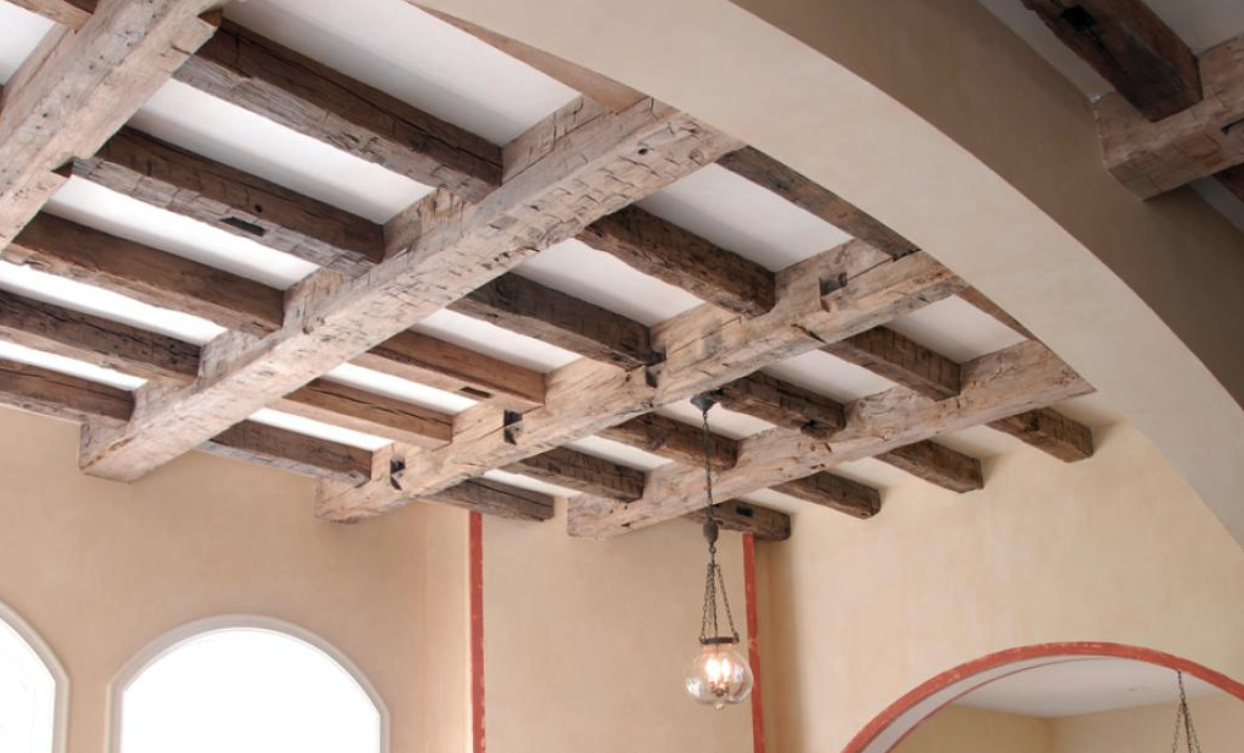
Ceiling beams, in most instances, are more decorative than structural and can be installed by either a professional contractor or a DIYer. This is especially true for faux wood ceiling beams. Faux wood beams, crafted from real wood, mimic the appearance of solid beams. They are constructed from three or four pieces that make the sides of the beam to create a hollow “box” on the ceiling, making them lighter and easier to handle. Additionally, they are ideal for concealing wires or pipes, adding to their functionality.
Ready to Discover More?
Your next project is just around the corner. Browse our product galleries for more inspiration.
For those considering a DIY installation of real wood beams, it’s essential to assess your comfort level with such projects. While real wood beams can be installed within a few hours to a few days, it’s crucial to seek professional assistance if needed. These installations can transform your ceiling with a fresh, new look rapidly.
Our new guide includes comprehensive, step-by-step instructions and installation tips to support you in your next home improvement project, whether you’re a seasoned woodworker or just starting out. These tips will ensure a smooth installation process, helping you achieve the desired outcome with your ceiling makeover using either faux or real wood beams.
Gather Materials
Regardless of whether you are installing solid wood beams or faux ceiling beams, you will need to make sure that you have the right woodworking tools on hand for the job:
-
Measuring tape
-
Circular or miter saw
-
Chalk line
- Tape measure
-
Wood glue
-
Ladder or scaffolding
-
2×4 “nailers”
-
Finish nails
-
Hammer or nail gun
- Stud finder
- Brackets
Preparation
Real wood beams need to acclimate to the temperature and relative humidity of the room where they will be installed in order to get the best results. This means making sure that the room has a consistent temperature and humidity level for 6 – 7 days leading up to the installation. The beams should be left in the room they will be installed in for roughly 72 hours prior to installation to give them a chance to acclimate properly.
In addition to making sure that the beams are ready, you should also make sure that your ceiling is able to support the beams. Check for ceiling studs or add a frame if necessary. Measure the ceiling and create the desired pattern for the beams.
Installation
If you are installing faux wood beams, they will need to be assembled prior to installing them on the ceiling:
-
Identify the different pieces of the beams; they should be labeled for easy assembly.
-
Measure and mark any pieces that will need to be cut to fit the ceiling.
- Make cuts on a circular or miter saw, and double-check that all pieces that will make up a beam have been cut to the same size.
- Place the first piece of wood on your assembly table and run a bead of wood glue along the edge where it will interlock with the next piece.
-
Insert the next piece (or pieces) and make sure that they fit snugly into their joints.
-
Wipe away any excess glue that may have come out of the joints.
-
If desired, use finish nails to secure the pieces of the box beam to one another.
-
Repeat for the remaining beams.
-
Leave enough time for the glue to dry before you begin installation.
Once you have the beams ready, take the time to prepare the ceiling:
-
Measure and mark the ceiling where you intend to install the beams.
-
Stretch a chalk line across the ceiling and snap it to keep lines even and to mark the necessary grids.
- Install “nailers” on the ceiling to make installing the faux wood beams easier. Nailers are thin strips of wood that the beam will fit over snugly. They’re easily nailed to the ceiling joists, and will allow you to install the diy faux beam over them securely, without needing to use bolts. Follow the pattern you marked out to attach the nailers to the ceiling.
- Install the faux ceiling beams by sliding them over the nailers, and securing them temporarily with a bracket.
- Nail the edges of the faux wood beams directly into the nailers to secure them, and remove the brackets.
Tips for Better Installation
Always test any sandpaper, wire brushing, or other cuts or materials on an unseen area to test its appearance.
Never directly attach the beams to drywall or ceiling plaster; always make sure there is a joist that can support the beam.
Make sure you can safely lift and support the beams while they are being nailed into place. Use help as needed.
Enlist the help of a professional for solid wood beams, which will require the use of lag bolts and potentially additional ceiling support to install.
Install Your Own Beams
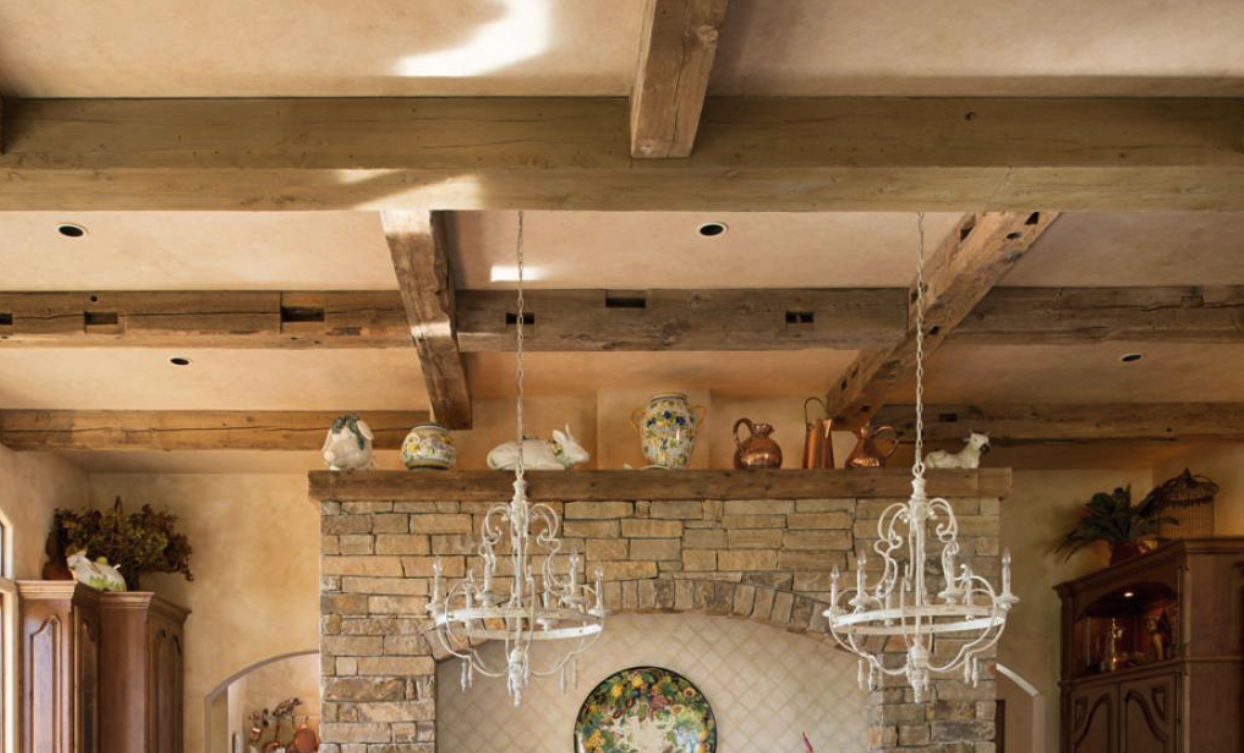
Wood beams are beautiful and timeless, and they add a lot of character and personality to any room, from casual living rooms to formal dining rooms. They’re also fairly easy to install for a capable homeowner who feels comfortable assembling and lifting the beams. Follow these step-by-step instructions for your diy project and transform the look of any room in your home. Picking out the wooden beams for your interior is the first step! Contact our team of experts to find the right beams for your home and ask any additional questions about installation.