Ready to Discover More?
Your next project is just around the corner. Browse our product galleries for more inspiration.
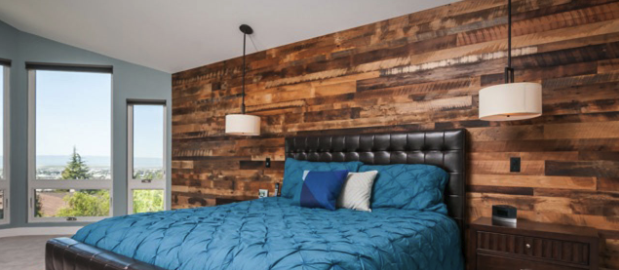
A wood accent wall can really make a statement in any room. And when you use reclaimed wood, which has character, patina, and history all visible on its surface, that statement gets even better.
Reclaimed wood walls install similarly to other wood accent walls; you’ll want a stable backing surface and to make a random pattern of the boards for the best look. Whether you’ve installed dozens of wood accent walls, or this is your first, follow these tips to ensure a successful installation.
Tools and Materials
Reclaimed wood is real wood, and installs in much the same way that other wood walls will be put in. And like any new material installation, make sure that you have the right tools on hand for the job prior to beginning, and that you’re comfortable using these tools.
Saws for fitting and trimming. Depending on the size and scope of the job, you may need one or more of the following:
- Table saw
Mitre saw
Jigsaw
Circular saw
Finish nails 16 gauge or heavier, 2-inches or longer
Nail gun (recommended) or hammer
Framing for the reclaimed wood to adhere to – 2×4 or 2×6 supports with a minimum of ⅝-inch plywood sheathing
Fasteners for the sheathing
Square
Pencil
Outlet extenders
Preparation
Like any wood installation, the reclaimed wood should be placed in the area it will be installed in roughly 1-2 weeks before installation to allow the wood to acclimate to the temperature and relative humidity in the room. Make sure that the wood is kept away from excessive moisture, and that the relative air temperature is between 65 and 75 degrees during the days prior to installation, as well as during installation and for the following installation.
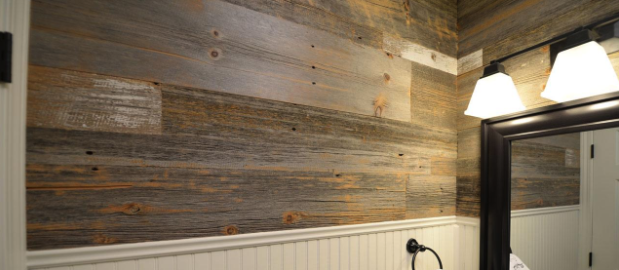
Reclaimed wood can be variable in color, texture, and length. Therefore, it’s recommended that you do a dry layout prior to installation.
During a dry layout, you will measure the wall the wood will be installed on, and mark off an area of equal size and shape nearby. Be sure to mark the locations of any outlets, switches, or other distinctions in the wall.
Lay out the wood in this area. To get the most pleasing appearance, blend the wood as you go, placing cuts in different areas and mixing the patina and color variation. Cut the boards as needed to fit the installation.
The wood can be stacked or laid in a random or offset pattern, depending on the look you want to achieve. Keep in mind that more elaborate or intricate patterns will require up to 10-20% more material to accommodate cuts and to ensure you have enough material to complete the pattern.
To accommodate outlets, start the installation from the bottom up, and mark the location of the outlet on the board or boards that need to be cut and test their fit around the outlet prior to installing. To help blend the new cuts with the patina on the rest of the wood, you can lightly burn the end of the wood, then brush it with a wire to achieve a similar color. It’s important to take extra precautions if you decide to take this step.
If you have outlets or switches on the wall, install an outlet extender box at each one. This will ensure that you can install the reclaimed wood flush around your outlets and install the outlet covers securely on top when you’re finished.
Reclaimed Wood Wall Installation
Before you can begin installing the reclaimed wood on the walls, make sure that they’re ready to receive it. 2×4 or 2×6 supports should be installed at regular intervals across the wall. This should be covered with ⅝-inch plywood. Always use a dark color when possible to help ensure that the sheathing will not show through the reclaimed wood.
Once the walls have been prepared, you can begin installing the wood.
Start from the bottom, moving upward. Use the same pattern you used in the dry fit, transferring pieces directly from the dry fit to the wall and nailing them securely into place.
If desired, coat the finished wall with a water-based finish or order the material pre finished. Always test any finishes on a cut or left over piece to ensure that you like the resulting color before applying to the finished wall.
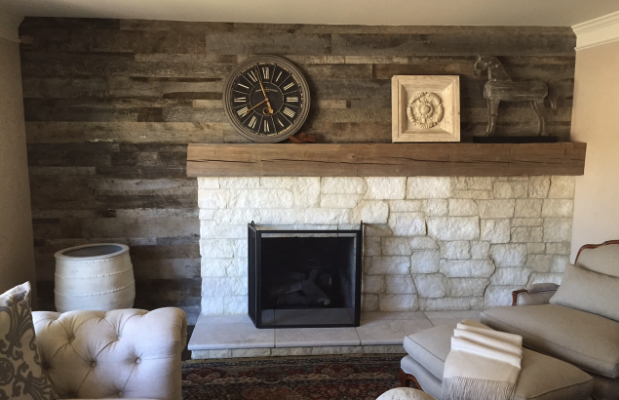
Brighten Your Design with a Reclaimed Wood Wall
Reclaimed wood installs and performs very similarly to new cut wood. The biggest differences are in the patina and wear marks, and the additional care needed to ensure a pleasing blend and design. Otherwise, a reclaimed wood wall functions exactly like new cut wood and adheres to the wall sheathing similarly.
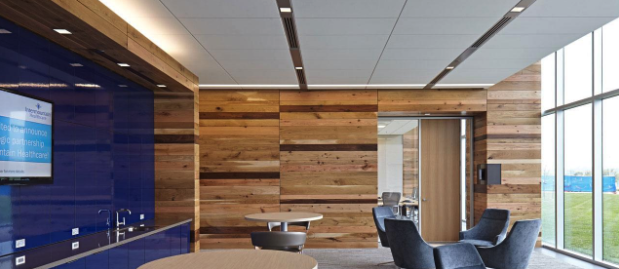
Consider installing a reclaimed wood wall in your residential or commercial space to capture the interest and beauty of this unique material for yourself.